


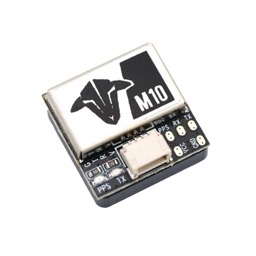


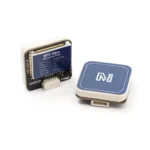
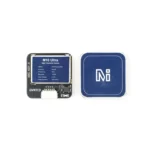
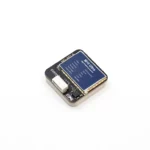
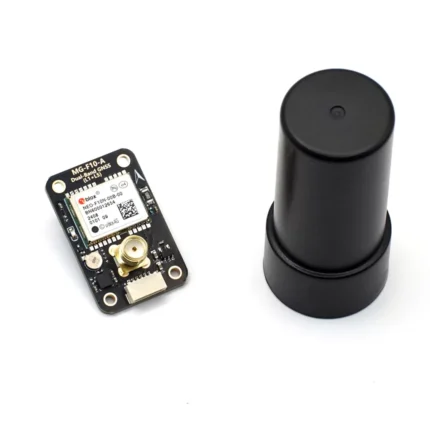

MicoAir MG-A01 GNSS Module with Compass
₹1,645.00 (Incl. GST)
Out of stock
Introduction
- MG-A01(M10 Ultra) GNSS module integrates a special version of u-blox 10th generation receiver chip – M10050, which run with higher frequency than normal, and the magnetic sensor – QMC5883L. It supports all L1 GNSS signals (GPS/GLONASS/Galieo/BeiDou) and can use up to 32 satellites simultaneously for navigation.
- The high-gain 25 x 25 x 4mm patch antenna provides the best performance.
- Built-in flash, parameters can still be saved when module lost power.
Why M10 Ultra
As we all know, M10 is the latest generation of GNSS receiver, with higher startup speed, positioning accuracy, and more satellites. But at the same time, M10 (5Hz) sacrifices the navigation update rate compared to M8 (10Hz) and M9 (25Hz). In order to solve this problem, we integrated an Ultra version of the M10 chip into MG-A01, which runs with a higher frequency, make it possible to achieve 10Hz navigation update rate while using 32 satellites.
In order to solve the problem of unstable navigation update rate of M10, the developer team of ardupilot forcibly limited the number of satellite by turning off BeiDou B1L and GLONASS. In fact, they could choose to use the M10 Ultra without making any changes.
SPECIFICATIONS:
- GNSS Receiver: U-BLOX M10 (M10050)
- Magnetic Compass: QMC5883L
- Antenna: 25x25x4mm
- GNSS System Support: GPS L1 /CA; GLONASS L10F; BeiDou B1L/B1C; Galileo E1B/C; QZSS L1 C/A/S; SBAS L1 C/A
- Concurrent: 3 (GPS/BeiDou/Galileo(default) or GPS/GLONASS/Galileo), when Beidou B1L is turned off, it becomes possible to use 4 satellite systems at the same time: GPS+BeiDou(B1C)+GLONASS+Galileo
-
Max Navigation rate: 10Hz
-
Max satelite num: 32
- Input Voltage: 5V
- Current: 30mA
- Output Interface(GPS): UART (3.3V LVTTL)
- Interface(Compass): I2C
- UART Baudrate: 115200(default)
- Output Protocol: UBX-PVT(default)
- PPS LED: Blue (Solid ON after powering on, blinking(1Hz) when GNSS get 3D fix)
Flight Controller Firmware Required
- INAV: >=5.0.0
- Betaflight: >=4.3.0
- Ardupilot: >=4.3.0
- PX4: >= 1.14.0
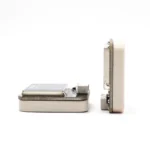
Physical
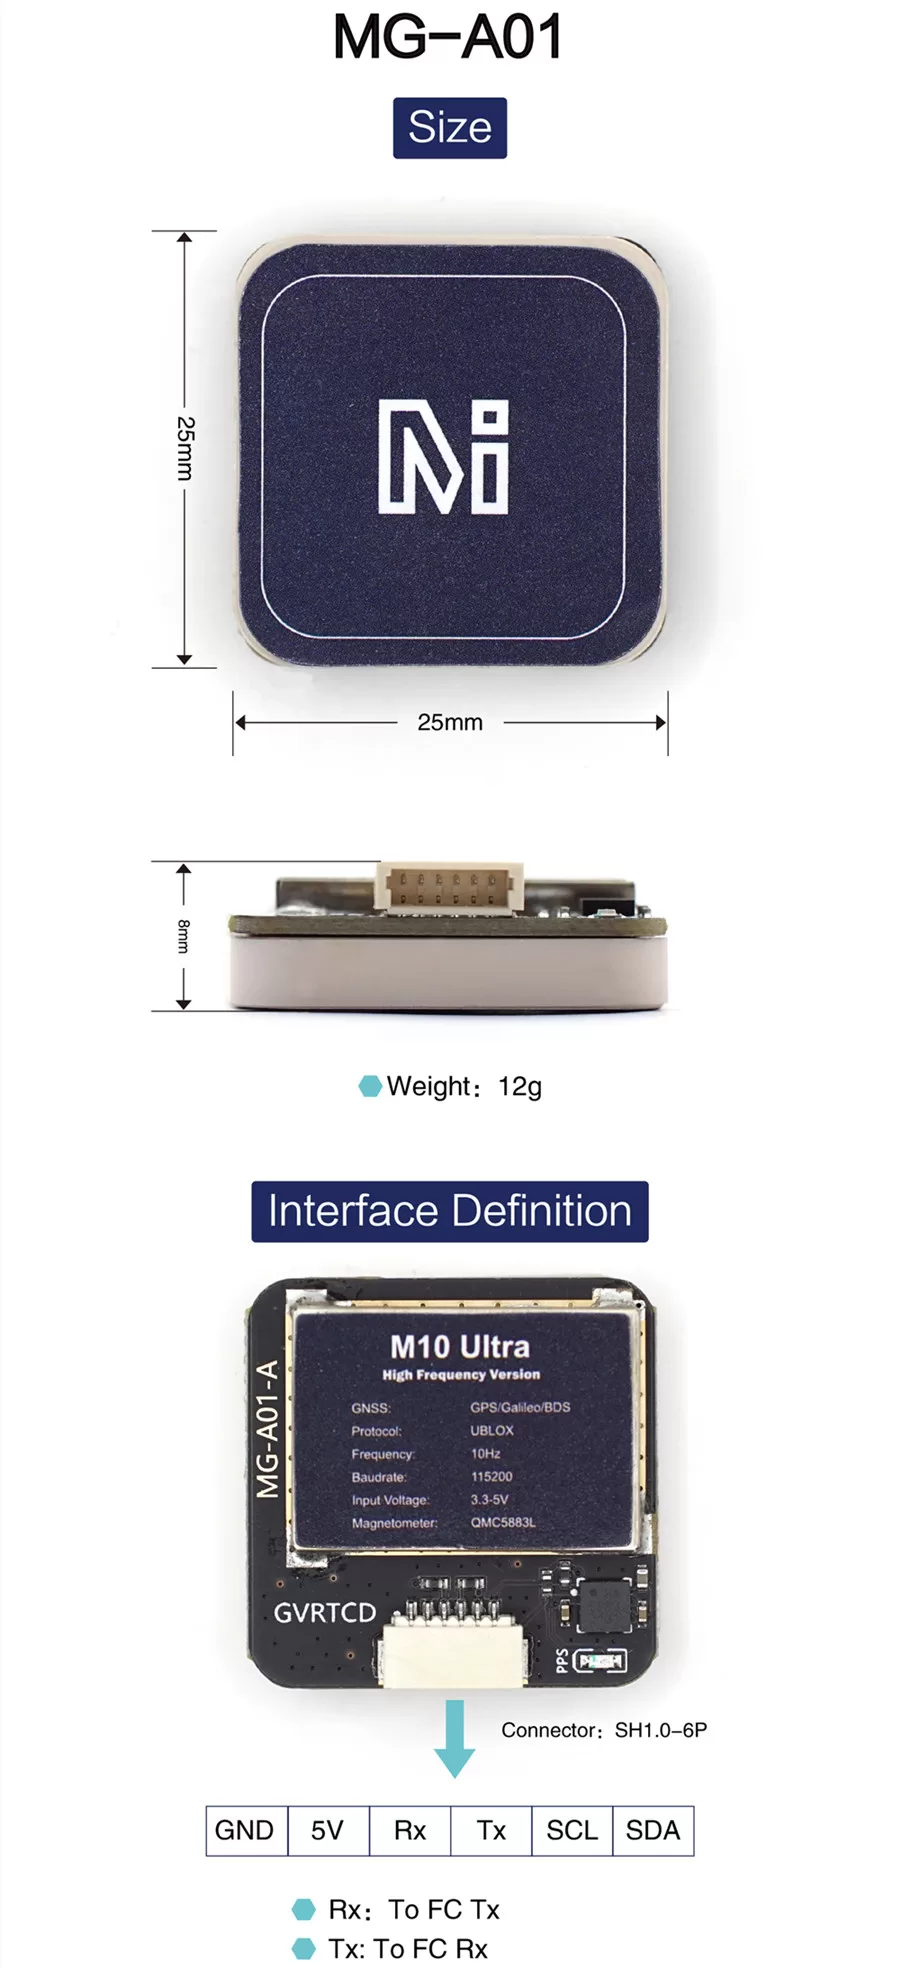
- Dimensions: 25 x 25 x 7.8 mm
- Weight: 12g
- Connector: SH1.0-6P 1.0mm pitch
- 3D-printed battery strap GPS mount
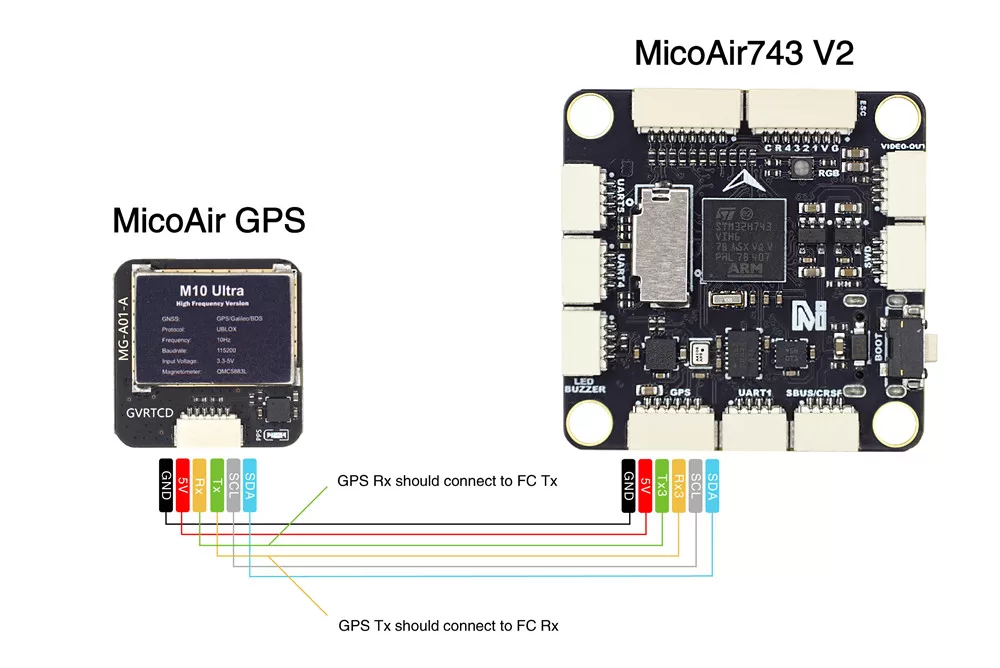
Wiring Diagram
Reference
Interface Definition
FC Firmware Required
- INAV: >=5.0.0
- Betaflight: >=4.3.0
- Ardupilot: >=4.3.0
- PX4: >= 1.14.0
GPS Setup Tutorial For INAV
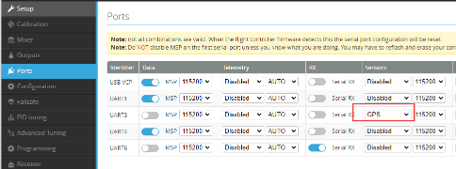
- Connect the GPS to the serial port of the flight controller, and then config the sensors function of the port which you connected as “GPS”.
- In the GPS configure page, setup as the picture below: Enable the GPS function; Setup the Protocol as UBLOX;
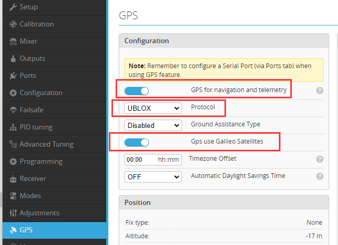
- Save and reboot, you will see the GPS icon light up(Blue).

GPS Setup Tutorial For Ardupilot
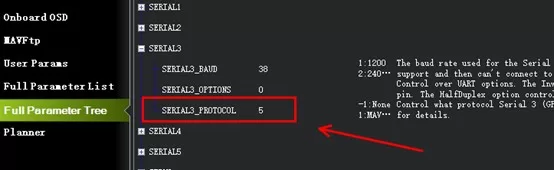
- Correctly connect the M10G-5883 to the GPS serial port on the flight controller (usually serial3), rx to tx, tx to rx. And then configure SERIAL3_PROTOCOL to 5 (usually this is the default value).
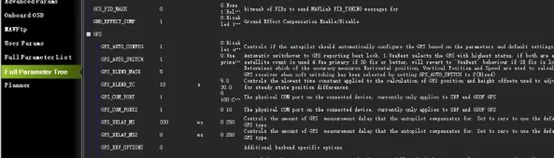
- Although most of the time Ardupilot’s default parameters will work with GPS, it is recommended to check the following parameters:GPS_AUTO_CONFIG = 1GPS_TYPE = 1or2GPS_DELAY_MS = 100 (sensor data delay params for ekf fusion)GPS_RATE_MS = 100 (gps data output interval)
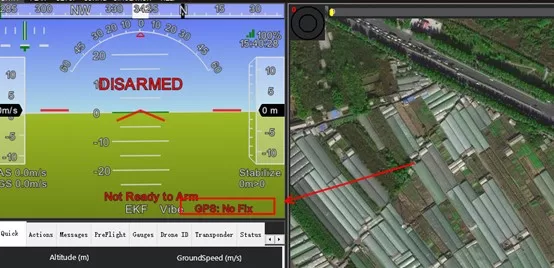
- Reboot the flight controller. You should see “GPS: No Fix” on the HUD of the Mission Planner, which means the flight controller has correctly recognized the GPS. If not, it shows “No GPS”.
- To use GPS data in EKF fusion, the following parameters need to be checked, but usually these are default values:EK3_SRC1_POSXY = 3EK3_SRC1_VELXY = 3EK3_SRC1_VELZ = 3
- At this point, the GPS has been set up and can be tested outdoors in an open environment. It is worth noting that starting from firmware 4.3.2, Ardupilot will force some configurations on M10: turning off the use of BeiDou B1L/GLONASS/SBAS. These configurations are solidified in the code and cannot be modified by parameter settings.
Compass Setup Tutorial For INAV
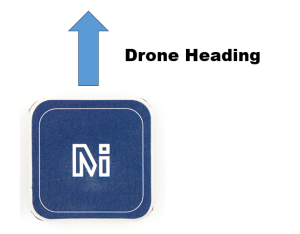
- Install the M10G-5883 according to the direction shown below, and correctly connect the SCL and SDA to the flight controller.
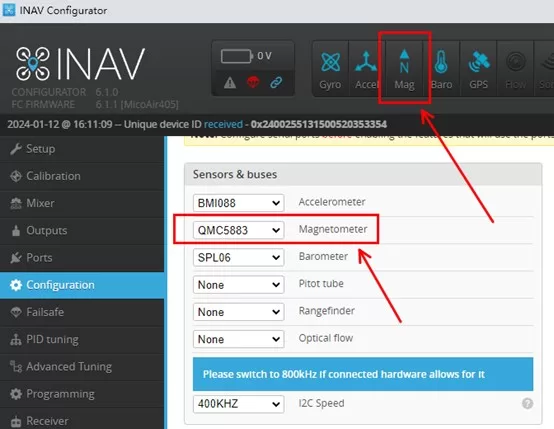
- Set the Magnetometer as “QMC5883” on the Configuration page, save and reboot, and you will see the Mag icon light up (blue).
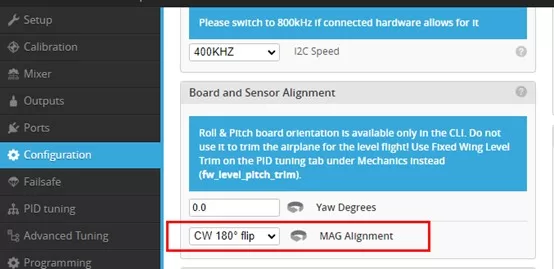
- Also on the Configuration page, set “MAG Alignment” to “CW 0° flip“, save and reboot.
- On the Calibration page, click “Calibrate Compass” and follow the prompts to calibrate the compass. After the calibration is completed, save and reboot again.
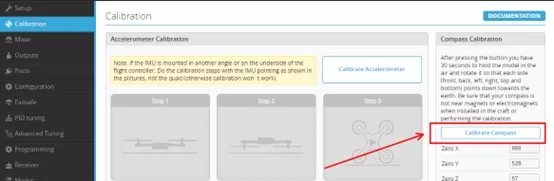
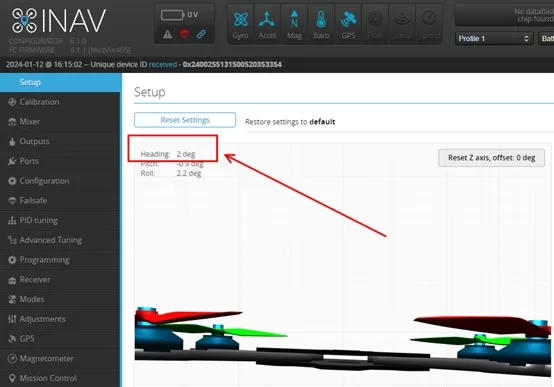
- Put the drone towards the north and check whether the heading value is around 0°. In order to prevent interference during flight, it is best to keep the GPS module away from the power output cable.
| Weight | 25 g |
|---|---|
| Brand |
MicoAir |


Reviews
There are no reviews yet.